Refresh and Revitalize: The Ultimate Guide to Cleaning Your Potion & Twig Diffuser
Your diffuser used to fill the room with a rich, true scent. But lately it feels weaker - or even off. The oil is fresh, the diffuser is running, yet something just isn't right.
The most common cause is fragrance oil residue building up inside your diffuser, dulling its performance and changing how your favorite scents come through.
This guide will show you exactly how to clean a diffuser so it works beautifully again and keeps your home smelling just right.

Your Diffuser Works Hard. Here's How to Keep It Working Beautifully
Picture this: your diffuser used to fill every corner with the warm embrace of your favorite scent. Now, weeks or months in, something's changed. The fragrance feels muted, or there's an odd note lingering underneath that doesn't belong. You've checked everything. The oil's fresh. The diffuser's running. But the magic just isn't there anymore.
The culprit? Fragrance oil residue quietly building up inside your diffuser. Over time, tiny amounts of oil accumulate on the atomizer and internal components. Left unchecked, that buildup dulls performance, shifts how scents smell, and can even shorten the life of your unit.
Here's the good news: it's completely normal, entirely fixable, and takes less than five minutes with the right approach.
This diffuser maintenance guide will walk you through exactly how to clean a cold air diffuser so it keeps performing at its absolute best.
Why Cleaning Your Diffuser Matters More Than You Think
Oil residue affects scent performance
Cold air diffusers work by passing air through fragrance oil to create an ultra-fine micro-mist that fills your space. Over time, oil residue builds up on the atomizer, the hardworking component that makes this happen. That buildup can reduce output, alter the scent profile, or create a background note that doesn't belong to your current oil.
It's one of the most common reasons people think that their diffuser has stopped working or that their oil has gone bad, when really, the diffuser just needs a good clean.
Mixing oils without cleaning creates blending problems
When you add a new oil to a diffuser that still carries residue from the previous one, the two scents mix. Often, the result smells like neither.
This is especially noticeable when switching between very different scent families. Moving from something warm and woody like Rugged to something fresh and citrus like Citrus Rush without cleaning first? You'll get a confusing blend for the first day or two. Cleaning between oil changes isn't just about keeping things tidy. It's about preserving scent integrity.
Regular maintenance extends the life of the unit
Fragrance oil residue diffuser buildup can affect the atomizer over time. A clean diffuser simply lasts longer and performs more consistently than one that's never been maintained. Think of it as a small, regular investment that protects a more significant purchase.
How Often to Clean Diffuser
Here's your practical frequency guide:
Every time you switch scents: A quick clean between oil changes ensures each new fragrance smells exactly as it was designed, with no ghost notes from the previous oil.
Monthly: Even if you use the same scent continuously, a monthly clean removes accumulated residue and keeps the atomizer performing at its best.
When you notice reduced performance: If the scent seems weaker than usual, or the scent doesn't smell quite right, a clean is almost always the first thing to try.
Before storing: If you're putting the diffuser away for any length of time, clean it first so that oil doesn't dry and harden inside the unit.
What You'll Need
Keep it simple:
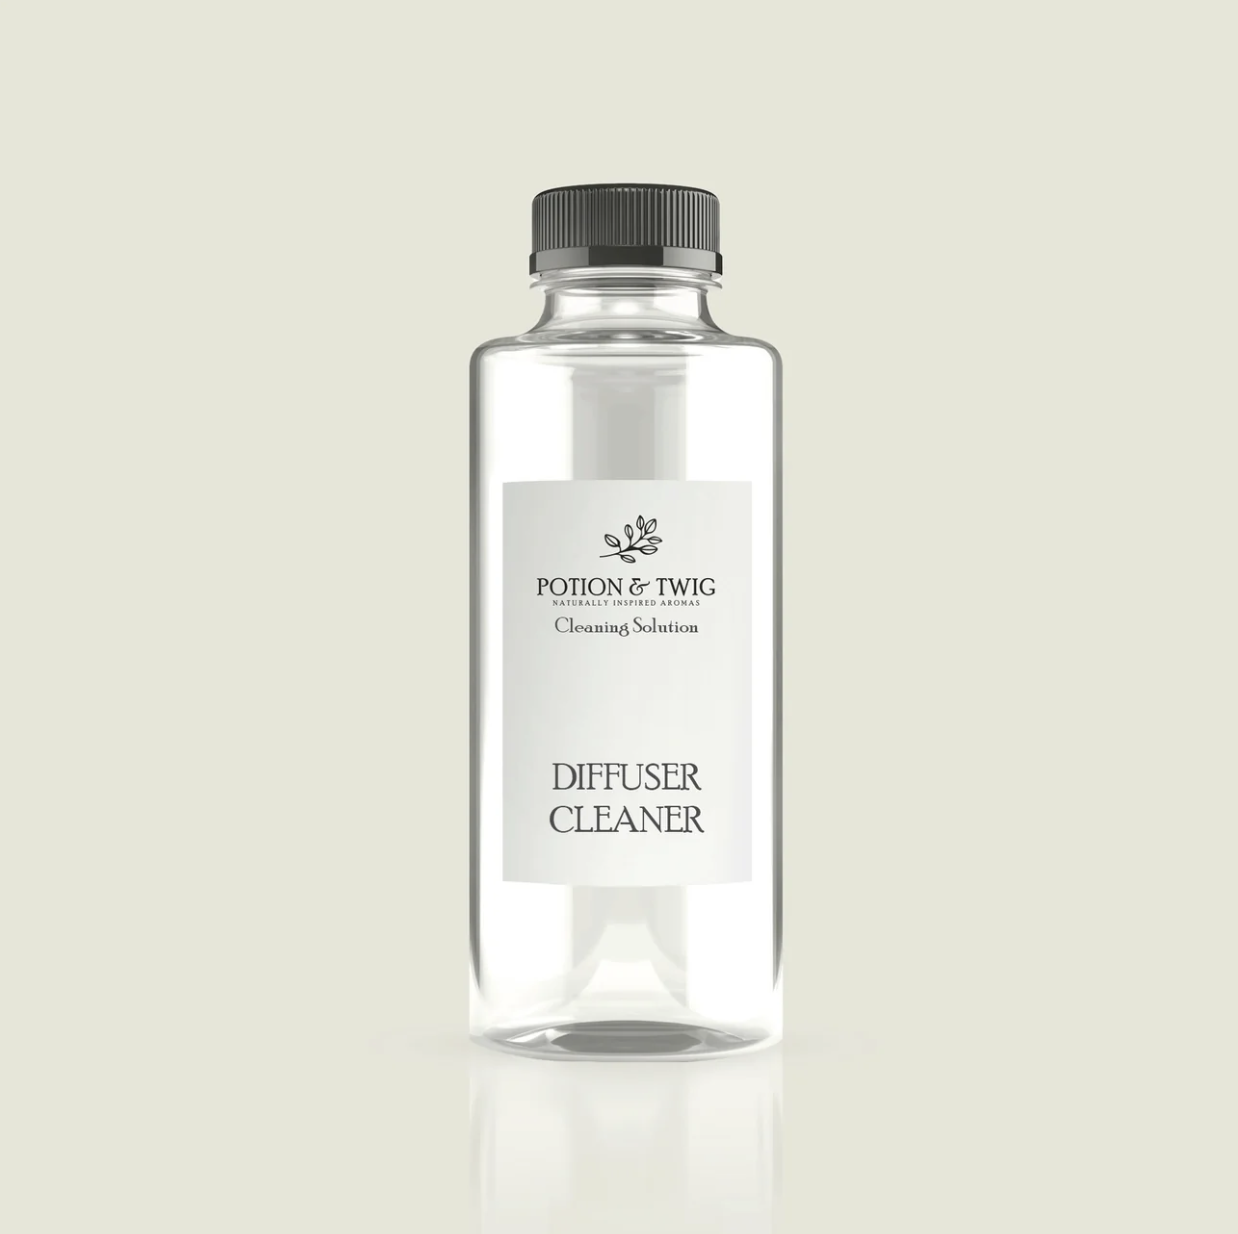
Potion & Twig Diffuser Cleaner: specifically formulated to dissolve fragrance oil residue without damaging the diffuser's internal components. You can find it here.
A soft, lint-free cloth or cotton swab for wiping accessible surfaces.
A few minutes: the process is genuinely quick once you've done it once.
A note on household cleaners: water, alcohol-based cleaners, and general household products are not recommended for the internal components of a cold air diffuser. They can damage the atomizer or leave residue that affects future scent performance. The Potion & Twig Diffuser Cleaner is formulated specifically for this purpose.
How to Clean a Diffuser: Step by Step
Step One: Removing the oil bottle
Let's walk through the bottle removal process:
Turn off the diffuser and unplug it (or ensure it's powered down if battery-operated).
For Sienna: twist the base off to expose the atomizer and unscrew the oil bottle.
For Spire and Lumen: pull out the atomizer head from the top and unscrew the oil bottle.
For Gallery and Terra: follow the same process as Spire and Lumen.
Keep the oil bottle upright at all times to avoid spills. Set it aside safely before cleaning.
The empty oil bottle can be saved for future use or for storing leftover oil when switching scents.
Step Two: Cleaning the atomizer and internal components
Here's your diffuser cleaning guide:
Add a small amount of Potion & Twig Diffuser Cleaner to the diffuser where the oil bottle sits.
Run the diffuser for 5 to 10 minutes (in a well ventilated area) to allow the cleaner to work through the atomizer and internal tubing.
Turn off the diffuser and allow it to sit for a few minutes.
Empty any remaining cleaner from the unit.
Use a soft cloth or cotton swab to gently wipe any accessible surfaces: the bottle seat, the atomizer exterior, and the base.
Allow the unit to air dry completely before installing a new oil bottle.
Never submerge any part of the diffuser in liquid and never use water directly on the atomizer.
Step Three: Installing the new oil and restarting
Once the unit is dry, screw the new oil bottle securely into the atomizer.
Reassemble the diffuser: twist the base back on (Sienna) or replace the atomizer head (Spire, Lumen, Gallery, Terra).
Keep the diffuser upright at all times during and after installation.
Turn on the diffuser and allow a few minutes for the new scent to come through cleanly.
The first few minutes after a clean and oil change may produce a slightly lighter output as the new oil begins flowing. This is normal and will settle quickly.
Common Problems and Whether Cleaning Will Fix Them
Problem: "My diffuser doesn't seem to scent as well as it first did."
Cause: Almost always oil residue buildup on the atomizer. Clean the unit and the output should improve noticeably.
Problem: "My scent smells slightly off or has a background note I don't recognize."
Cause: Residue from a previous oil mixing with the current one. Clean between oil changes going forward.
Problem: "I can barely smell my diffuser after a few hours."
Cause: Likely nose blindness (olfactory adaptation) rather than a diffuser problem, but also worth cleaning to rule out residue buildup. Run the diffuser in cycles (20 minutes on, 10 to 15 minutes off) rather than continuously to keep the scent noticeable.
Problem: "My diffuser is making an unusual sound."
Cause: Check that the oil bottle is correctly seated and the unit is on a stable, level surface. If the sound persists after cleaning and reinstalling the oil, contact P&T support at needhelp@potionandtwig.com.
Problem: "My diffuser has stopped producing mist entirely."
Cause: Check that the unit is powered on and the oil bottle is correctly installed. Try cleaning the atomizer. If the problem persists, contact Potion & Twig support. The unit has a 90-day warranty.
A Few Habits That Make Maintenance Easier
Clean every time you switch oils. It takes less than five minutes and makes every new scent smell exactly as it should.
Keep the Diffuser Cleaner nearby. Store it with your fragrance oils so it's always at hand when you're making a switch.
Always keep the diffuser upright. Oil spills inside the unit are the most common cause of performance issues and are entirely avoidable.
Note when you last cleaned. A quick note in your phone or on a sticky label is enough. Monthly cleaning is easy to forget without a simple reminder.
Switch scents intentionally. Rather than just topping up a half-empty bottle with a new oil, empty and clean first for the cleanest scent experience.
The Diffuser That Always Smells This Good
A well-maintained diffuser is one of the most reliable tools in a beautifully scented home, and the maintenance it needs is genuinely minimal. A five-minute clean every month (or every oil change) is all it takes to keep a Potion & Twig diffuser performing exactly as it was designed to: filling the space with pure, accurate, beautifully diffused fragrance.
If you don't already have one, pick up the Potion & Twig Diffuser Cleaner at potionandtwig.com. Consider it as essential a part of the diffuser setup as the oil itself.
There's a noticeable difference between a diffuser that's been cared for and one that hasn't. A clean diffuser is one of the easiest ways to keep your home smelling exactly right, every single day.